

🎯 Introduction
Hello, React Developers!! 👨💻👩💻 Today we are going to learn about useReducer. useReducer is one of the additional Hooks that shipped with React v16.8. An alternative to the useState Hook, The useReducer Hook is similar to the useState Hook. It allows for custom state logic. useReducer helps you manage complex state logic in React applications.
useReducer can be a good alternative to Redux In certain cases, it is an outright better option.

🕹State management
We often hear about the state, state changes, and state management. What exactly is the state? We can take this literally by saying that it’s the current state of your program, but that might not be too easy to understand. In programming, the state is simply the combination of all the data we currently have in our application, the data that is utilized and returned by your ongoing program.
What exactly is state management? According to Wikipedia, ”State management" refers to the management of the state of one or more user interface controls such as text fields, OK buttons, radio buttons, etc.”
🎡useReduce vs useState
useSate is a basic Hook for managing simple state transformation, and useReducer is an additional Hook for managing more complex state logic. However, it’s worth noting that useState uses useReducer internally, implying that you could use useReducer for everything you can do with useState.
There are some major differences between these two Hooks. With useReducer, you can avoid passing down callbacks through different levels of your component. Instead, useReducer allows you to pass a provided dispatch function, which in turn will improve performance for components that trigger deep updates.
However, this does not imply that the useState updater function is newly called on each render. When you have a complex logic to update state, you simply won’t use the setter directly to update state. Instead, you’ll write a complex function, which in turn would call the setter with updated state.
Therefore, it’s recommended to use useReducer, which returns a dispatch method that doesn’t change between re-renders, and you can have the manipulation logic in the reducers.
It’s also worth noting that with useState, the state updater function is invoked to update state, but with useReducer, the dispatch function is invoked instead, and an action with at least a type is passed to it.
📍Setting Development Area
We need to run this command:-
npx create-react-app counter
cd counter
npm start
After installation, we should have this.
📍 useReducer
const [state, dispatch] = useReducer(reducer, initialArg, init);
UseReducer returns an array with the first element being the state and the second element being a dispatch function that will invoke the useReducer.
To build the counter application, we need four files: the main App.js to render our components; Counter.js for our counter application; Reducer.js where we will manage the application state using our useReducer logic; and our App.css
🔔Counter Application
This is the way we could start this.
const [count, dispatch] = useReducer(reducer, 0);
Instead of a setter in useState, we used dispatch. “Dispatch” here has its literal meaning, more like you will want to send something: you could say “send an action”. We will process it with a reducer function. As we can see up there, we have the state 0. Let’s start building the counter application.
App.js
import logo from "./logo.svg";
import "./App.css";
import Counter from "./Counter";

function App() {
  return (
    <div className="App">
      <header className="App-header">
        <img src={logo} className="App-logo" alt="logo" />
        <p>
          Building a simple counter app with the <b>useReducer Hook</b>
        </p>
        <Counter />
      </header>
    </div>
  );
}

export default App;
//Counter.js
/** This is Counter.js
**/
import React, { useReducer } from "react";
import reducer from "./Reducer";

const Counter = () => {
  const [count, dispatch] = useReducer(reducer, 0);

  return (
    <div className="container">
      <div className="card">
        <h1>Counter Application</h1>
        <h3>{count}</h3>
        <div>
          <button className="btn1" onClick={() => dispatch("increment")}>
            increment
          </button>

          <button className="btn2" onClick={() => dispatch("decrement")}>
            decrement
          </button>

          <button className="btn3" onClick={() => dispatch("reset")}>
            Reset
          </button>
        </div>
      </div>
    </div>
  );
};

export default Counter;
App.css
/* Counter Application css start here */
.App {
  text-align: center;
  background-color: black;
}

.App-logo {
  height: 20vmin;
  pointer-events: none;
}

@media (prefers-reduced-motion: no-preference) {
  .App-logo {
    animation: App-logo-spin infinite 20s linear;
  }
}

.App-header {
  background-color:black;
  min-height: 100vh;
  display: flex;
  flex-direction: column;
  align-items: center;
  justify-content: flex-start;
  font-size: calc(10px + 2vmin);
  color: white;
}


@keyframes App-logo-spin {
  from {
    transform: rotate(0deg);
  }
  to {
    transform: rotate(360deg);
  }
}

/* Counter Application css start here */

.container {
  display: flex;
  align-items: center;
  justify-content: center;
  cursor: pointer;
}

h3 {
  display: flex;
  align-items: center;
  justify-content: center;
}

.btn1 {
  background-color: blue;
  padding: 15px;
  margin: 20px;
  color: beige;
  border-radius: 15px;
  border: 1px solid white;
  width: 150px;
  opacity: 0.5;
  font-weight: 700;
}
.btn1:hover{
    opacity: 1;
}

.btn2 {
  padding: 15px;
  background-color: red;
  margin: 20px;
  color: beige;
  border-radius: 15px;
  border: 1px solid white;
    width: 150px;
    opacity: 0.5;
      font-weight: 700;
}
.btn2:hover {
  opacity: 1;
}

.btn3 {
  padding: 15px;
  background-color: green;
  margin: 20px;
  color: beige;
  border-radius: 15px;
  border: 1px solid white;
    width: 150px;
    opacity: 0.5;
      font-weight: 700;
}

.btn3:hover {
  opacity: 1;
}
We also have:-Reducer.js
//Reducer.js

const reducer = (state, action) => {
  if (action === "increment") {
    return state + 1;
  } else if (action === "decrement") {
    return state - 1;
  } else if (action === "reset") {
    return 0;
  } else {
    throw new Error();
  }
};

export default reducer;
We can check Output Here:-
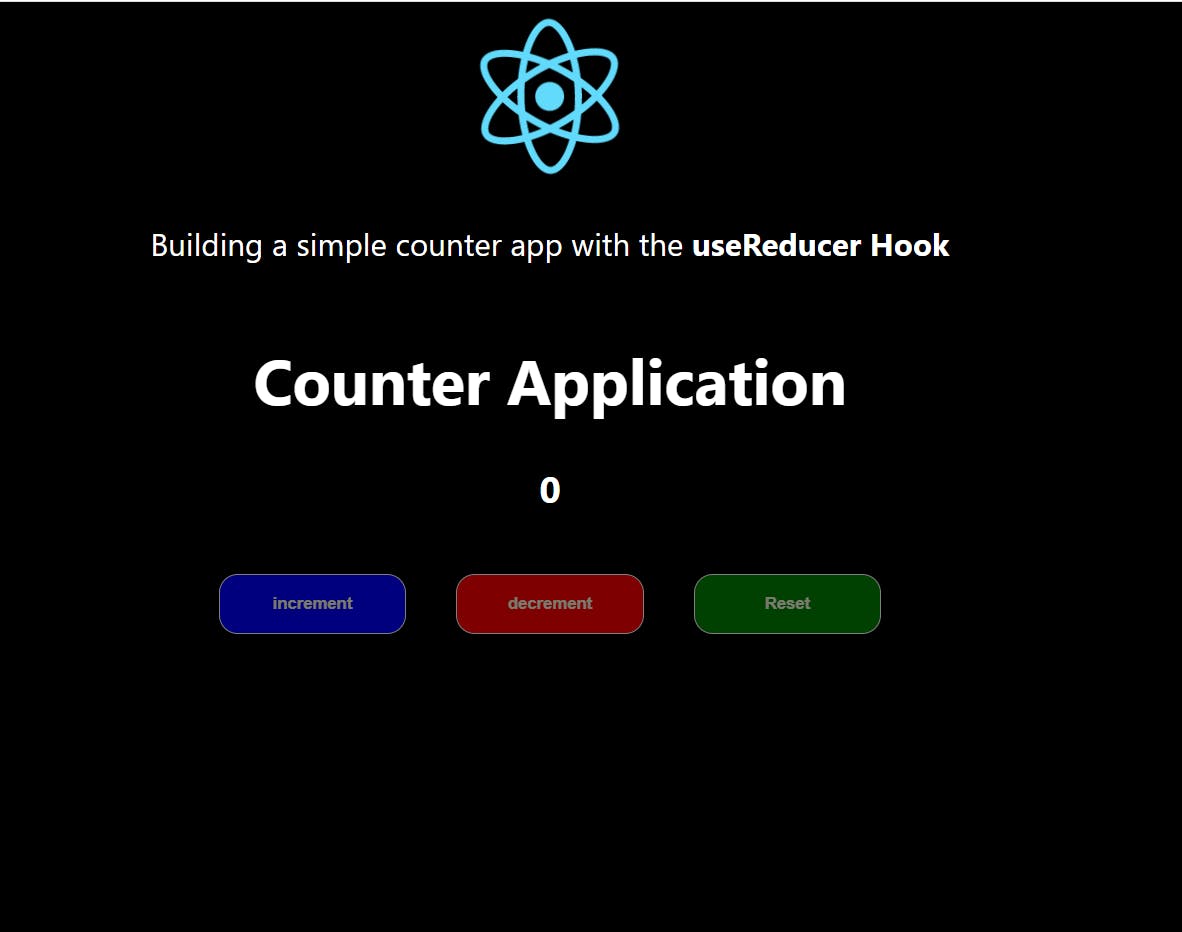

The code above shows a counter application whose state is managed by the useReducer hook. A counter doesn’t teach much about complex state management, but then I will explain the logic used above. The reducer takes in our state and a dispatched action. In Reducer.js, the reducer function takes in our state, and the action is dispatched, then we use our conditional statement. We had our if-else and passed in our action.type. We passed increment, decrement, and reset to the onclick function in JSX.
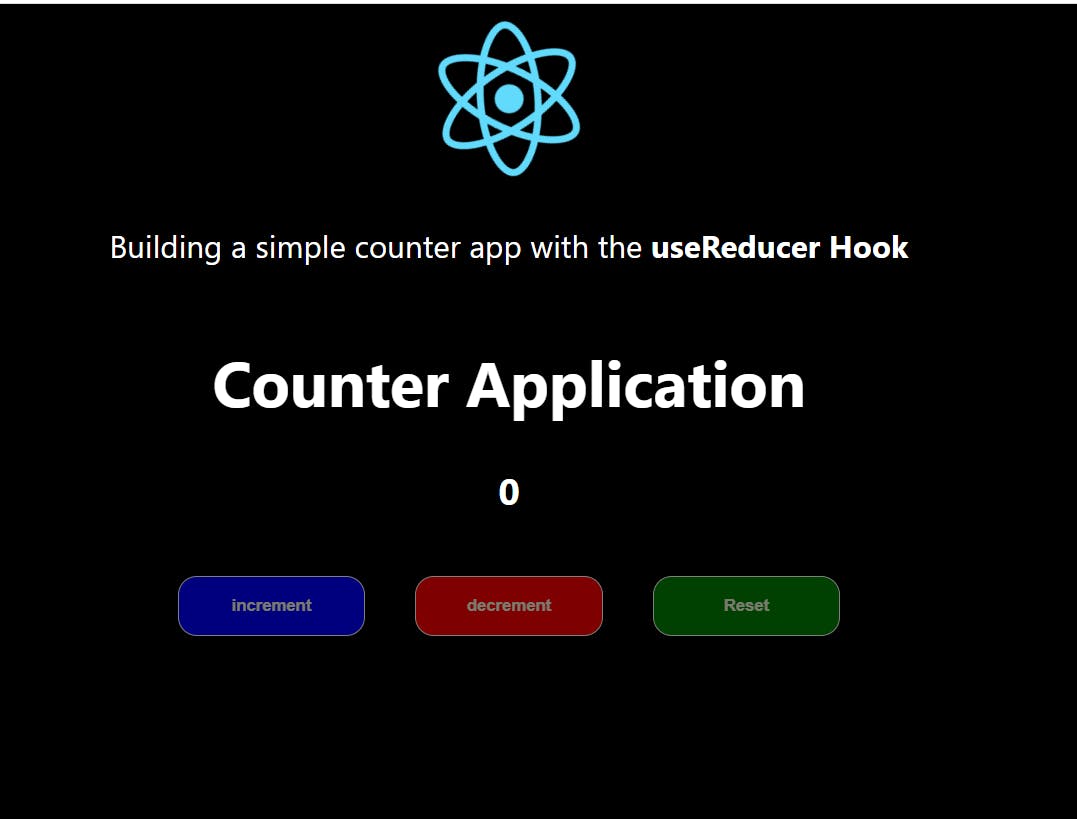
We can now test our application if this works out well. Initially we have:-
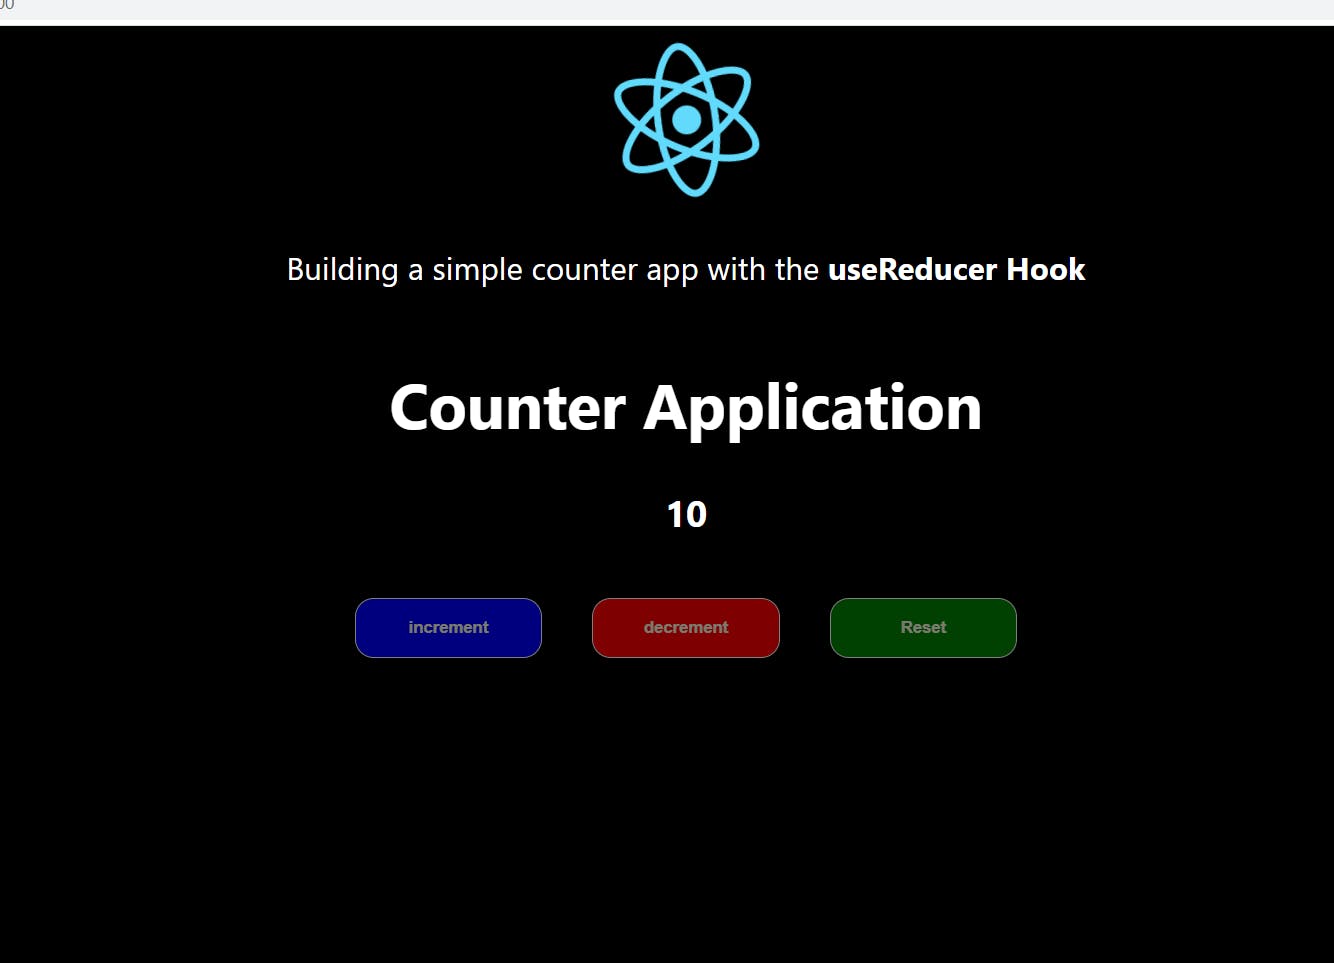
After some increments, we get:-
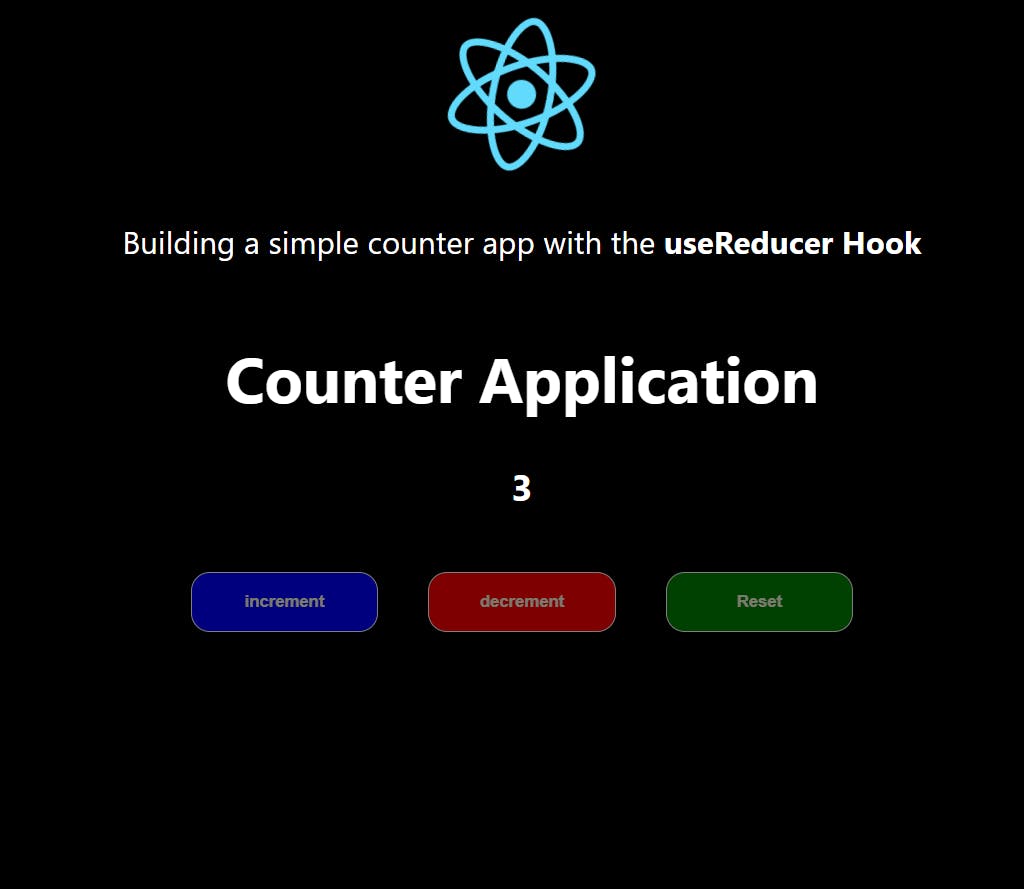
After some decrement, we get:-
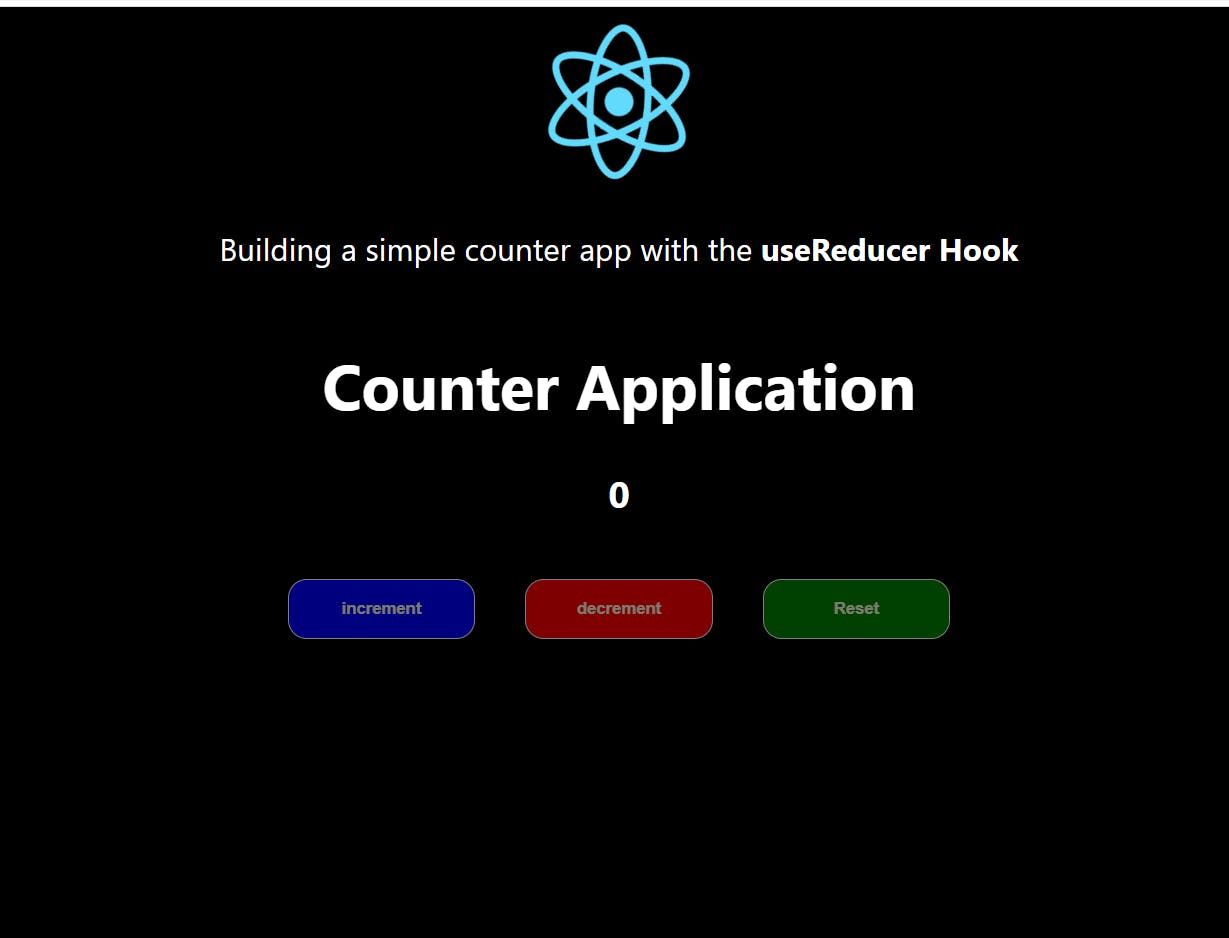
After Reset It will come to the initial status:-
This is where we begin to see useReducer shine its light on us. We may not have observed that we have entirely detached the update logic of our state from our component. We are now mapping actions to state transitions, and we can now separate how the state updates from the actions that occurred.
Here is GitHub Link:-
🎯 Wrap Up!!
We have come to the end of the article, In this article, we explored React’s useReducer Hook in depth, reviewing how it works, when to use it, and comparing it to the useState Hook.
I hope you enjoyed this article, and be sure to leave a comment if you have any questions. Happy Learning!